How to Create High Quality Gifs | Photographer Education
Follow these steps to create a high quality gif with your burst photos. Read to the end to find out 5 different ways to use your gif in marketing materials right away!
How to Create High Quality Gifs for Professional Photographers
High quality gifs (pronounced like jif) are a way for professional photographers to turn continuous image bursts into animations and short clips. I’ll break it down for you in steps. The first step is taking the photos. A little bit of foresight goes into this. The next step is editing, again a bit of forethought. Then comes the creation of the gif in Photoshop. This step is simple but can be time consuming. And finally, delivery to the client. This is an important step so that they can share if they want. All in all it’s pretty easy to do and clients love getting them in their galleries.
Make sure you read til the end so you learn all the different ways you can turn that high quality gif into solid marketing materials for your business!
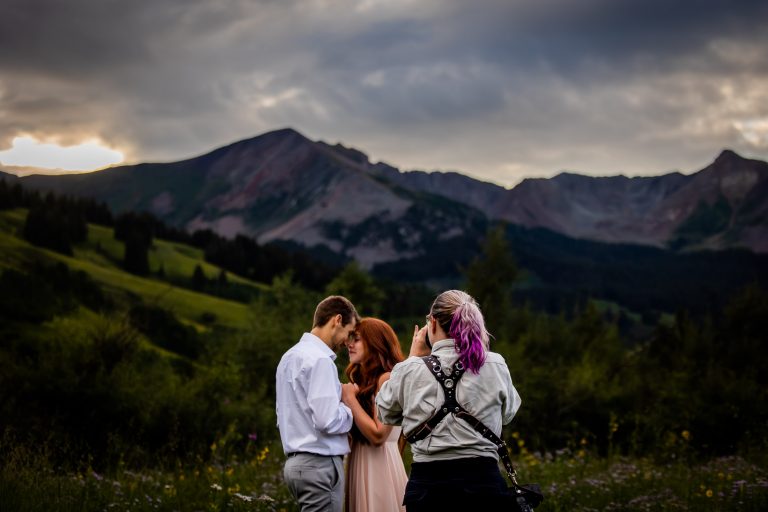
How to take photos to create a gif with : settings, tripod, shooting mode, and focus tracking
Having a tripod at your session, or nailing a very stable shooting stance prior to, helps to stabilize the perspective of the animation. You’ll want to change your shooting mode to continuous shooting mode. This way when you press the shutter your camera shoots multiple shots per second. How many images you shoot per second will depend on your camera’s settings. Now days camera’s can take dozens of images a second so just be sure to think about how much your computer will be able to handle later on when you’re trying to put them all together in Photoshop.
If your subject will be moving across the scene AND your camera has a focus tracking system, now is when you’ll want to turn it on. If not, you’ll want to stop down a few stops and make sure your subject knows to stay in the same plain (in a line) as they move across the scene. You can still nail your animation without any kind of focus tracking, just have subject stay in the same area of the scene only moving small parts of them, or you can have them dance in place etc.
How to edit & export the photos for your gif. : copy n paste edit, no vignette, export for web
Make sure to keep a consistent edit on every image for your gif so that you can’t see the changes in the animation. For gifs where you didn’t use a tripod or your subject is moving, it’s best to leave off the vignette in fear of a ghostly moving darkness around the image. Export your images as if you are going to upload them to your website. Long edge set no larger than 1200, dpi to 72 and quality to 92. This will tremendously cut down your time creating your gif in photoshop later.
How to make your animation gif. : Photoshop: file, scripts, load photos into stack
Once you open up photoshop you click on File, then towards the bottom click on scripts, and then load files into stack. An import box will open where you’ll search or drag and drop your gif images. Then click sort by name and align automatically for photoshop’s magic to begin. Once everything has loaded and aligned you’ll click Create Frame Animation at the bottom center. Then click the three lines in that box to the right and click Create New Layer for Each Frame. From here you’ll see all your images loaded into the script at the bottom. Change the amount of time between each from by selecting all the images and then clicking the drop down next to where it says “0 sec.” on the little script thumbnails. You’ll have to crop the gif until all of the sides are filled with the images. Then to export, click file, then click export, and then click Save for Web. From here you save it to an album on your computer.
Adobe also runs you through the various options and steps here!
How to deliver gifs to your client. :via Pic-time & how to turn a gif file into a video file.
You can’t share gif files on instagram, only via text and on Facebook. Teach your clients how to create a video file out of their gif file so they can share it on Instagram and other platforms gif files aren’t read.
You can save your gif as a video straight out of Photoshop. Just click export and render video. You can also use several different apps like IMGPLAY to convert your gif file into a video file. Just download the free app. Select the gif file and save it as a video to your phone.
Pic-time allows you to upload gif files but not video files. So if you share these as gif files with your clients I highly suggest you also share how they can turn them into a more usable video file.
5 different ideas to create marketing materials with your high quality professional photography gifs
Videos and animations are great ways to grab viewers attention better. So using your animations as short video clips essentially can help you create some high quality marketing materials for your social channels.
- post your gif (as a video file) to your instagram stories with a link to the blog for that shoot or something on topic to the animation you created
- use your gif (as a video file) as part of an instagram reel
- create Pinterest pins with video and animations using Canva, or Pinterest built in pin creator.
- share your gif to facebook with a solid caption and call to action or a link to an associated blog post.
- use your gifs in your instagram stories behind other posts or when you want to share some text or your thoughts.
Nat Moore Photography | Colorado Adventure Elopement Photographer | Photographer Education | How to Create High Quality Gifs