Table of Contents
How to Take the Best Photos of Your Newborn at Home
Tips to Take the Best Photos of Your Newborn at Home
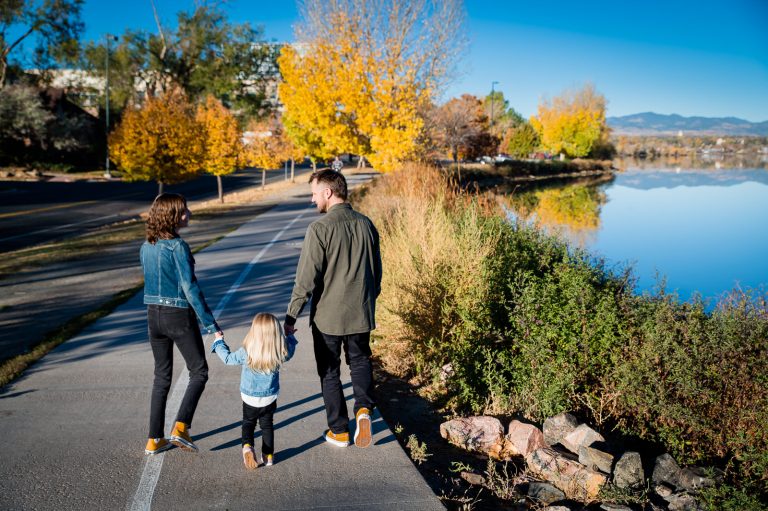
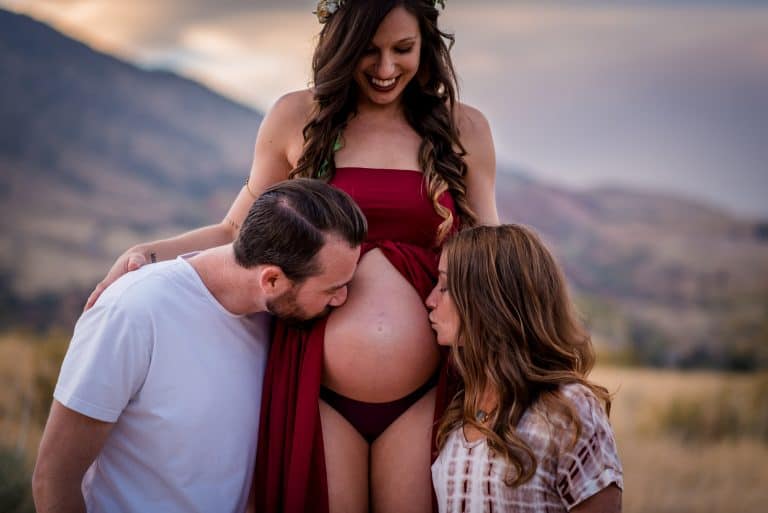
I originally wrote this at the start of the pandemic to help new parents who were having their newborn’s photos ripped away from them. I know most people have cell phones these days, and a lot of them are quite capable with the right environment and settings. So here are a few tips to take the best photos of your newborn at home with your cell phone or point and shoot camera!
Tip 1: Find the best light in your home and set up there
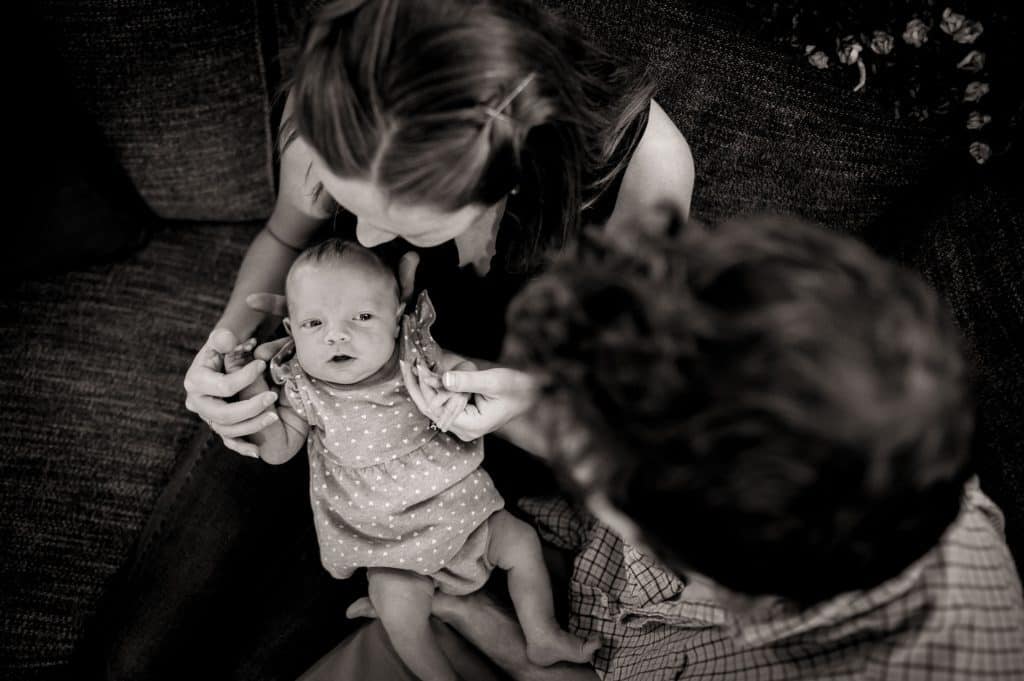
Cell phones and point and shoot cameras will yield the best quality images in good lighting. Position your baby on a large rocker, in the crib, on the bed, or in your arms near a window with diffused light. Diffused light just means that it’s not direct light. So use white semi sheer curtains or tilt-up your white blinds so the light bounces. Having good lighting makes a world of a difference when it comes to quality cell phone photos. I often have my families sit on the floor next to the bed and face a window to get that light. But if you have a chair or couch near the window or one you could move close to a window would also work.
Tip 2: Use the timer or a remote shutter button to get in some of those photos
These days, cell phones and point and shoot cameras have a timer setting you can setup. On your camera, you will likely find your timer option in your settings. You can always look up your specific camera’s user manual online or just google your camera and timer setting, I’m sure something will pop up to show you how. If you have an iPhone and an iWatch you can use the watch as a remote shutter button for your camera. It will even show you the image on your watch screen to help you compose the image properly. If you have purchased a tripod in the past now is the time to pull it out.
Tip 3: Find the best composition
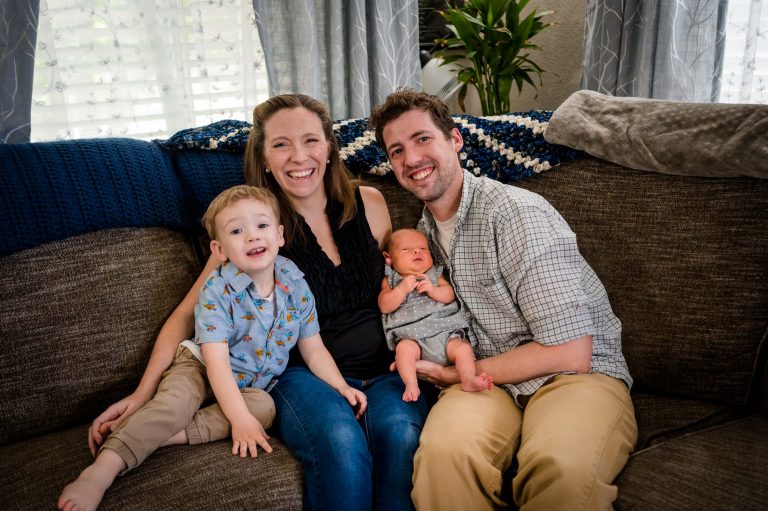
Put your camera at eye level or a little higher and try to angle it down slightly. Whether you have a tripod or have to set your camera on a table you want to try to make sure it’s either at eye level or above your heads. You don’t want to place the camera or phone too far away either. A tighter composition will have less distracting elements in the photo. The focus is your new babe and your little family so leaving out the rest of the room is usually best. It’ll be hard to have the camera up too high above your heads and tilt it down enough without a tripod. If someone is there to take the photo for you ask them to take it several different times but move around the space each time, getting different angles. Some angles are just more pleasing to the eye, or they capture the scene better but it’s hard to know exactly what that will be so you might as well just take a few and pick which one(s) you like best.
Tip 4: Use Portrait Mode
Portrait mode is a great way to pull the focus of the photo to the subject by adding what photographers call “bokeh” to the shot, essentially blurring out the background. You just have to keep in mind that it isn’t always fail-proof, hence why professional photographers who know how to use a camera can still make a living in this digital world. But it can make you feel better about your DIY newborn images. I suggest taking some photos with portrait mode on and then taking those same photos without it to see which one is more aesthetically pleasing to you.
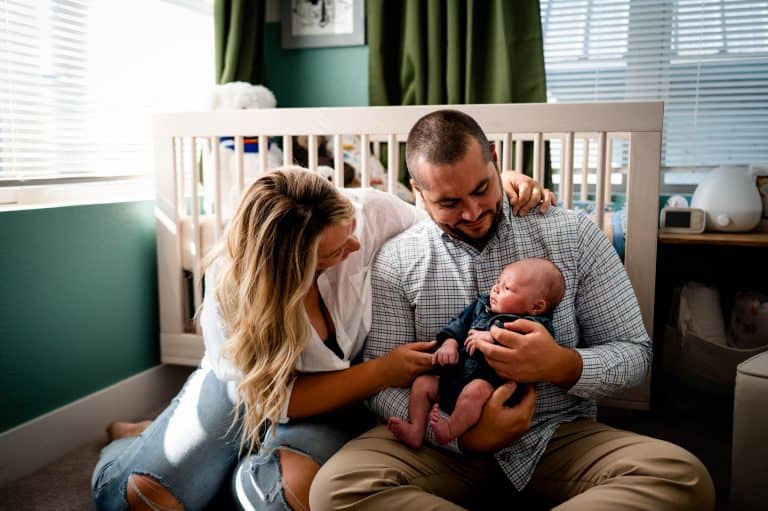
Tip 5: Keep the Baby Warm
This might be a no brainer for some but sometimes I don’t think people realize just how important it is. When a baby is warm they are comfortable, if they get cold they can get inconsolable and very upset, making photo time a thought of the past. I always start with the baby clothed and swaddled to ensure they get nice and relaxed before starting to position them for photos. You might be thinking about all those naked newborn photos you see online but those photographers have several heaters running around the baby to ensure that baby stays nice and warm even when naked. So if you have your room set above 75 degrees you may be able to pull this off.
Tip 6: Try to Time it Right
Let’s face it. Timing with a newborn is sometimes just not in the cards. But we all know that humans are happiest when we’re fed, or eating. I know I am anyways. Babies are the same way and that’s why timing your photos to be after a feed, burping and diaper change is crucial to a happy baby for the longest period of time. Because none of want our photo makeup to to go to waste that we spent all of naptime doing.
Bonus Tip: Just take the photos and don’t worry about how they are turning out or how you look in them. I know that these will end up being the best photos of your newborn!
These are memories that you will never regret having down the road. So do not let your messy new mom hair stop you from being in these photos. They may not be the ones you want to print and send to grandma for her to hang up but they will be cherished nonetheless.
How to Take the Best Photos of Your Newborn at Home
Follow these tips and let me know how it goes in the comments below! Drop a photo you took!